Originally posted on 1/20/15
When I was starting out with Blender I found it very hard to use. It is a very powerful program that has a steep learning curve. Many tutorials were long and hard to follow. I hope to keep these posts short and really simple only covering a little bit each time.
In this post I want to make an animation of the default cube rotating.
-
Mark The Start Of The Animation.
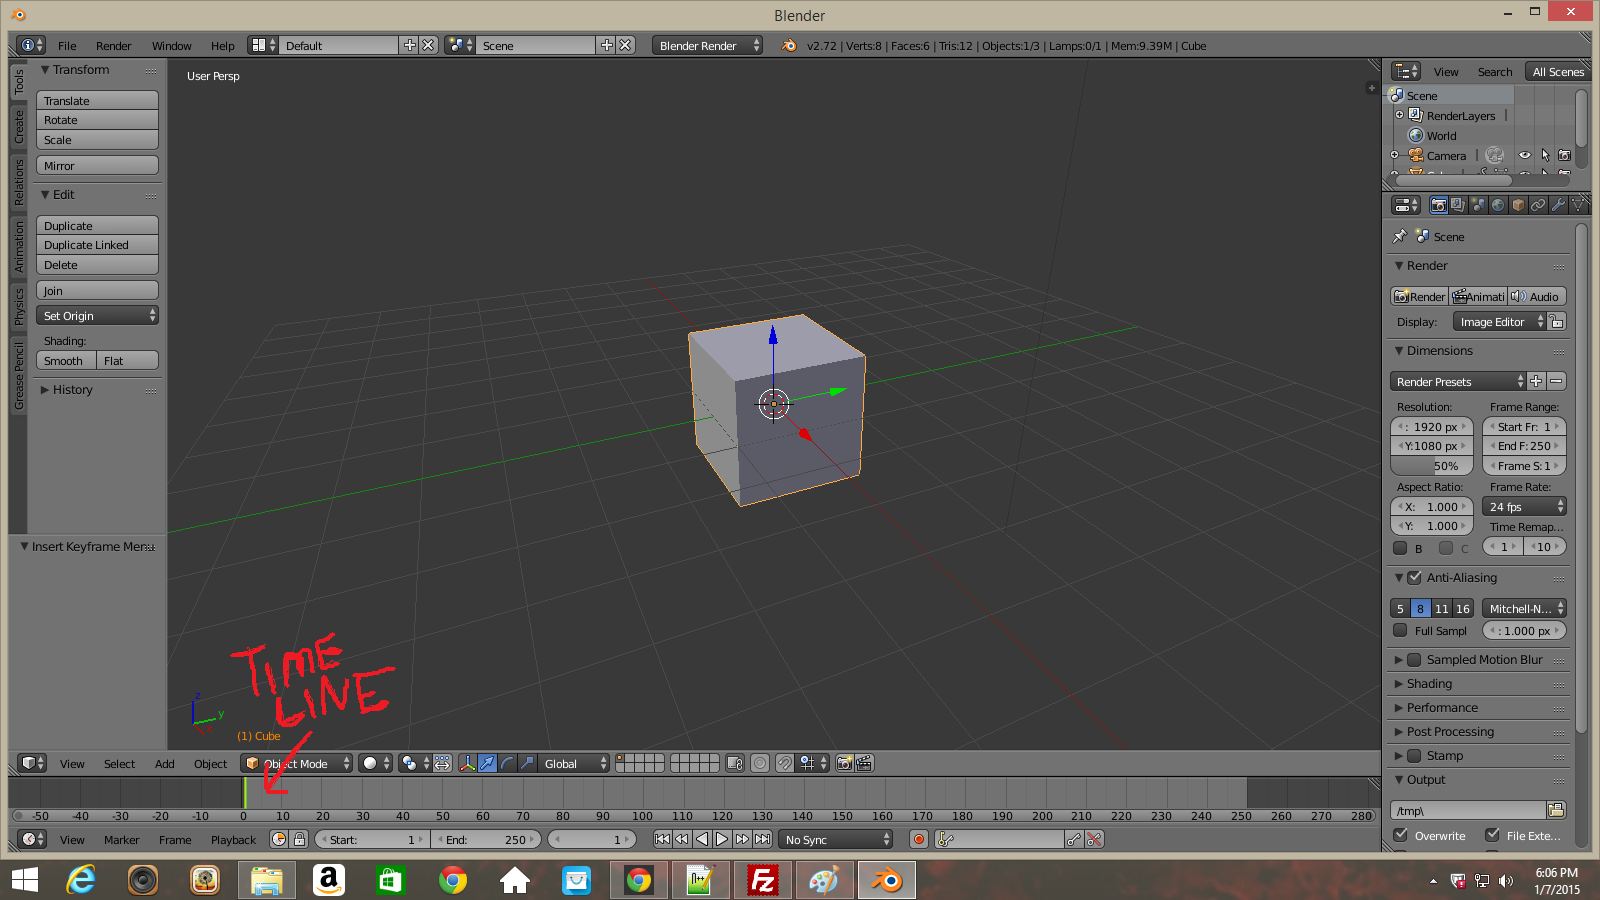
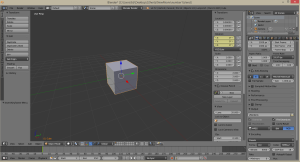
- Start out in the default view. The default cube should be already selected (highlighted with yellow), if it is not then select it now.
- Take a moment to get familiar with the timeline. By clicking around on it you will notice the green bar moving, this is the “Currently Selected Frame” marker.

- Under the timeline you see the playback controls. If you press the play button the green bar will begin to move to the right from wherever it is and when it reaches the end it will loop again until you press pause. You can set the length of the total animation using “Start” and “End”. In my version the timeline defaults to 250 frames and I will leave as that. Start = 1, End = 250.
- With your mouse hovering on the window that contains the cube (not hovering over any panels above, below or to the sides)press i on your keyboard to INSERT KEYFRAME. Doing so will bring up the “Insert Keyframe Menu” and it looks like this..
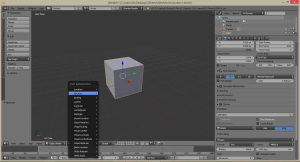
I am going to choose “Rotation” because we will be making the cube rotate. If we want to animate the physical location of the cube we would choose “Location”, or if we wanted to animate the size of the cube we would choose “Scaling”, and so on. - Once you click “Rotation” the menu will vanish and it will seem as though nothing has happened but if you look below the main window you will see the time line..
Clicking around on the time line will move the green bar but you will notice that at frame 1 there is a yellow bar and that is what you have just inserted. The yellow bar contains the “Starting Rotation” of the cube at frame 1. - Now the easiest thing to do is to click the little plus sign on the right side of the window.

That brings up a menu that looks like this. (you may have to scroll up the menu to see the yellow highlighted section)
The part that is highlighted yellow is the information you have just stored in the yellow bar. The x,y, and z starting rotation settings.
- Start out in the default view. The default cube should be already selected (highlighted with yellow), if it is not then select it now.
-
Mark The End Of The Animation.
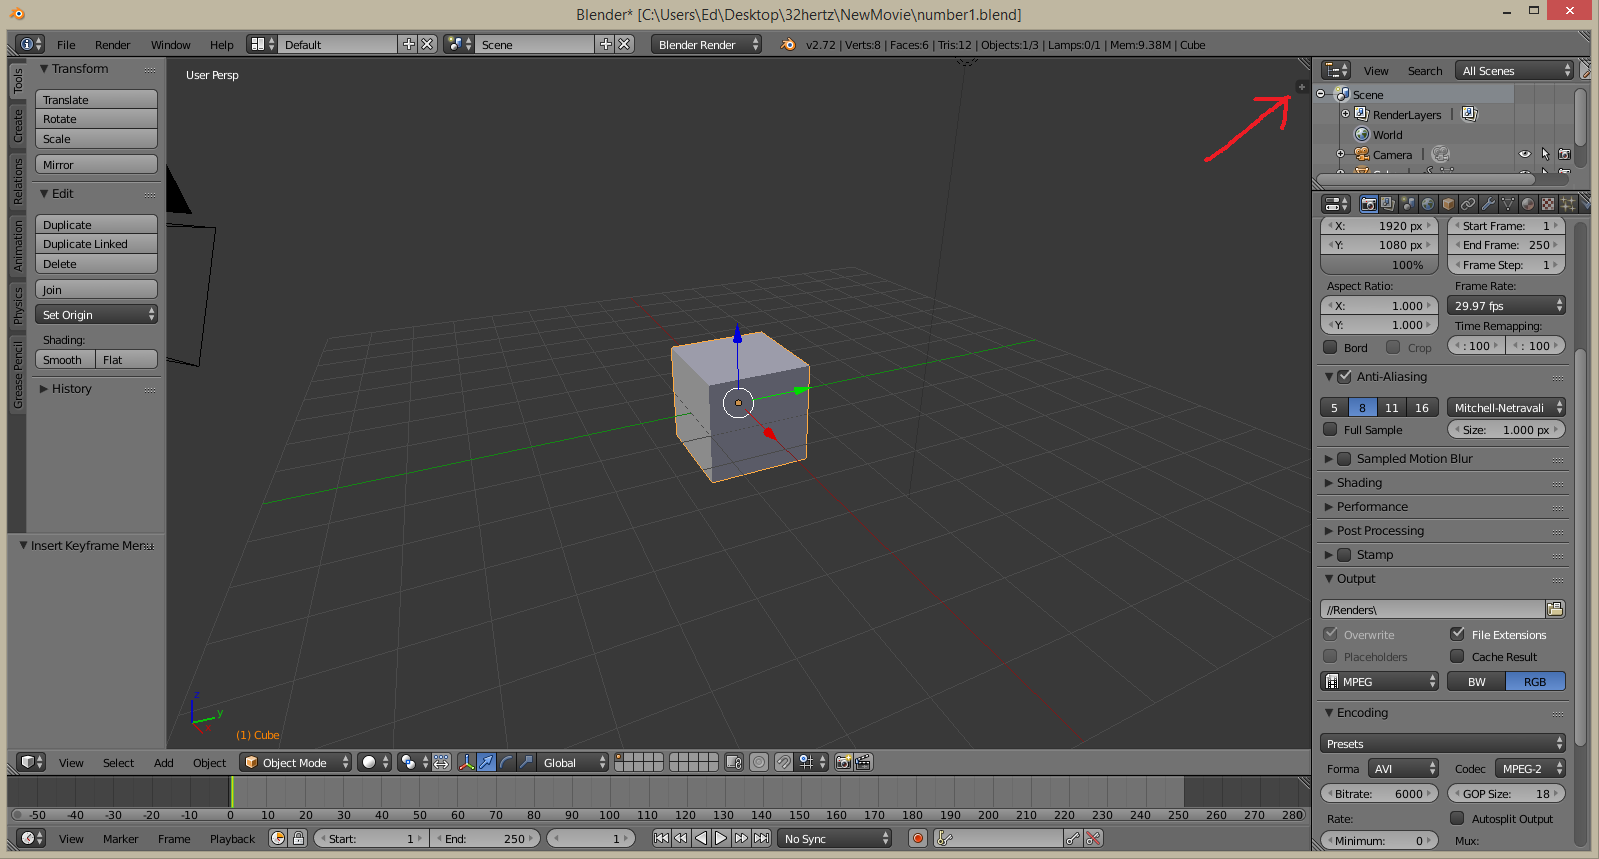
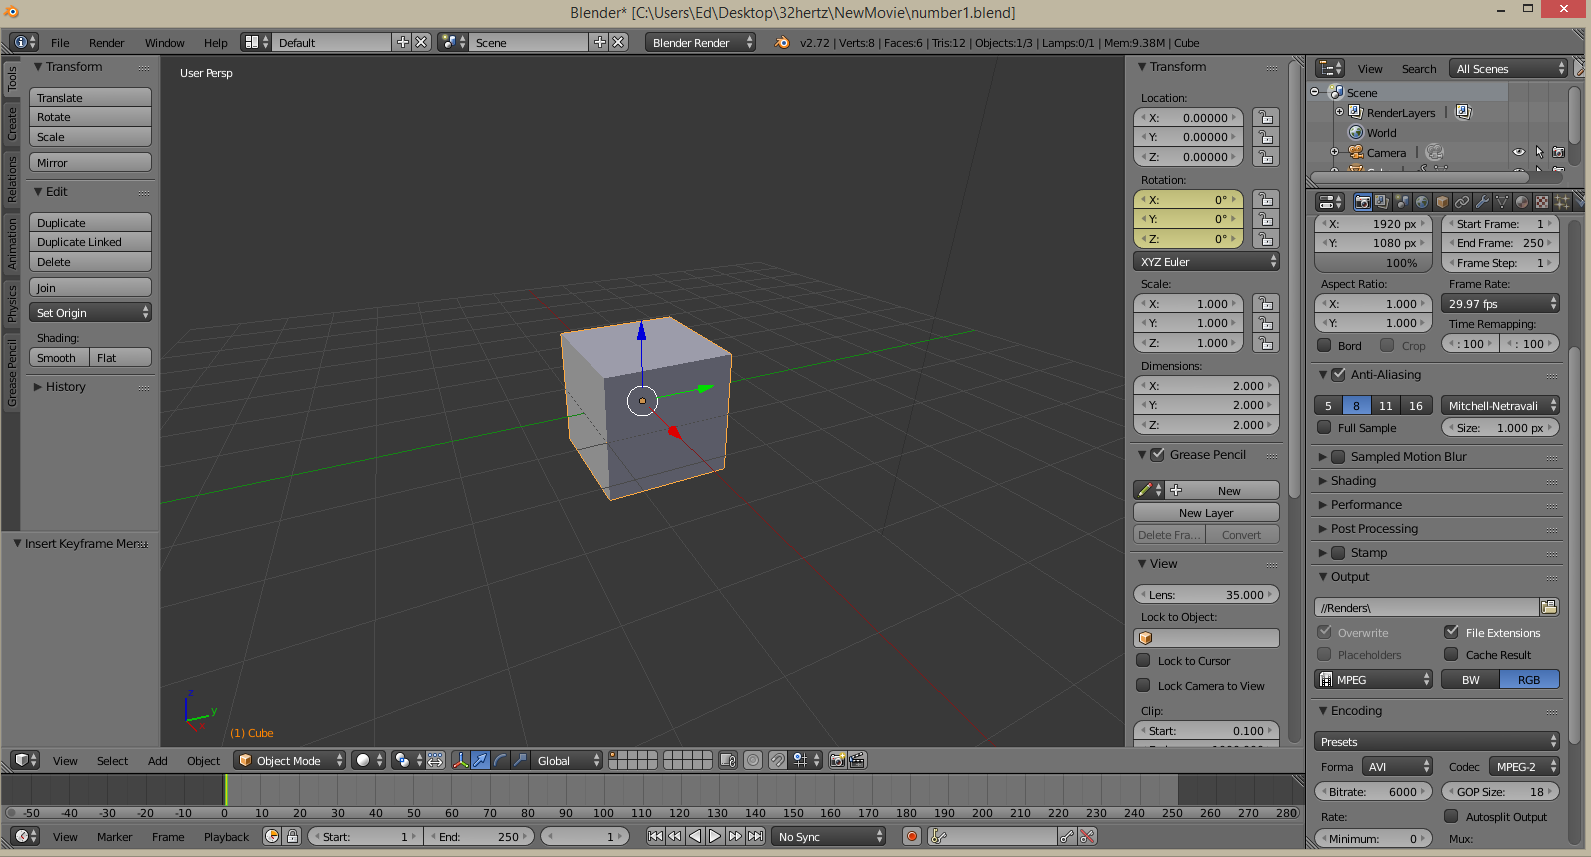
- Now select frame 250 in the timeline by clicking on it. You will notice that the yellow highlighted section now has a green tint to it.
- By changing the value of Z in the green highlighted area you will notice that the cube rotates on the Z(blue) axis. I set mine to 360.
- Once again press I on the keyboard to INSERT KEYFRAME, and once again choose Rotation. What you have just done is insert another yellow bar with the new values in the green shaded area. You will notice that once you insert the keyframe the green tinted area is once again yellow.
-
Play The Animation.
- If you press the play button now you will notice that the value of the green shaded area will increase gradually from the first keyframe until it reaches the second.
- You can add as many keyfames as you like to get the results that you want.