Video Editing in Blender for Beginners pt2
Manipulating Audio and Video in Blender
This article assumes that you already have a copy of the free Blender program downloaded and installed. If you do not yet have blender you can get it here at Blender.org. The current version is 2.77A, but this tutorial should work if you have a different version because Blender does a good job of trying to keep things the same across different versions. If you do notice that it doesn’t work please contact me at ed@32hertz.com so that I can fix it.
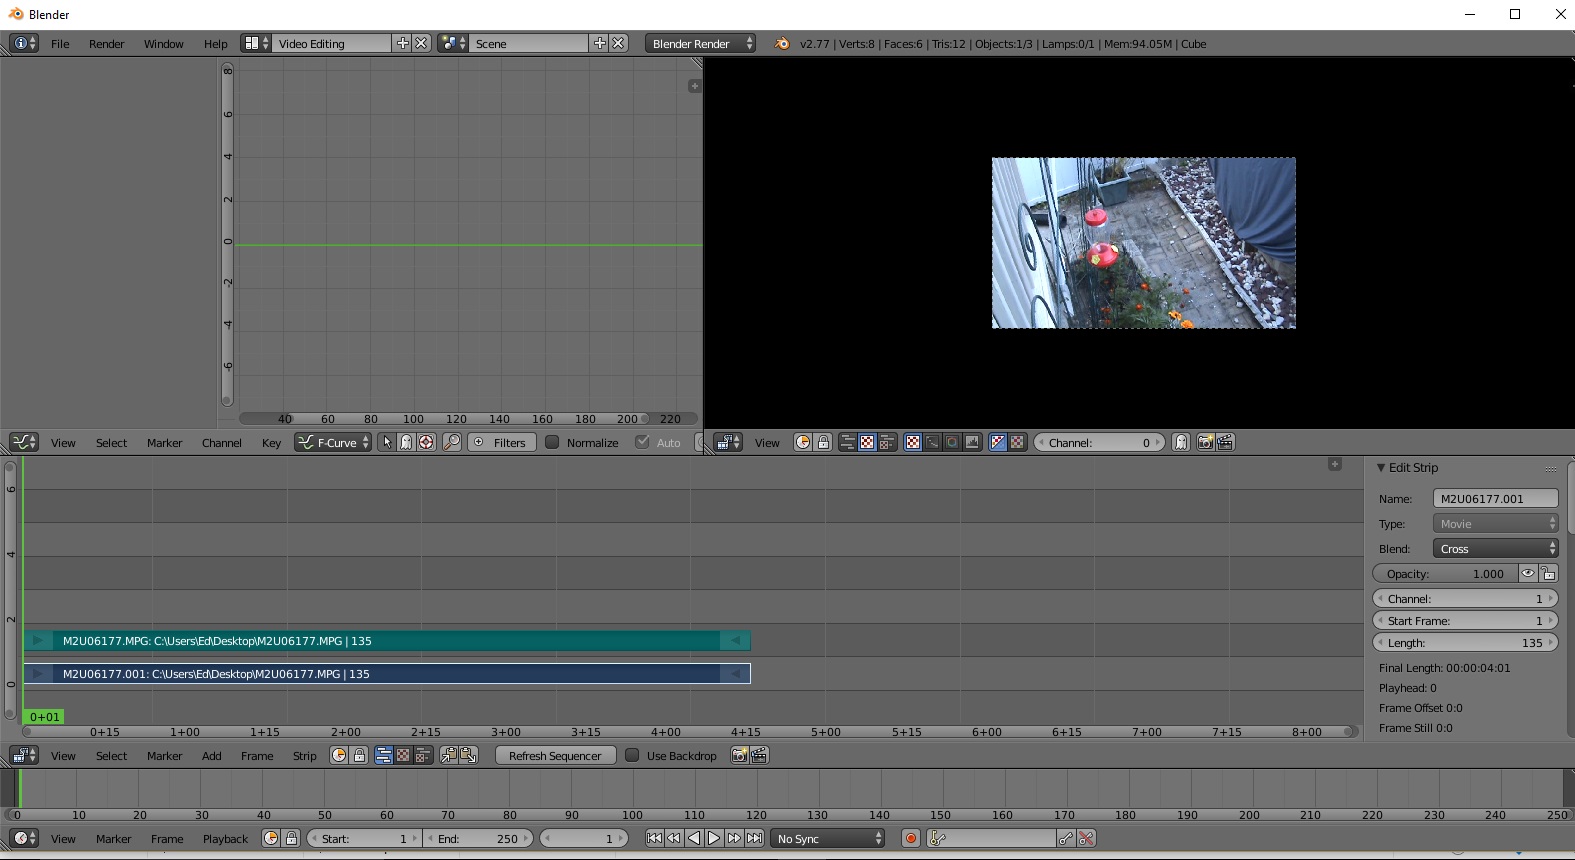
Today we are going to learn how do do some things with the files that we imported in the last tutorial Video Editing in Blender for Beginners pt1. You should have one movie file that has sound imported into Blender to start this tutorial. Your screen should look similar to the image below.
Adjusting the length of the project
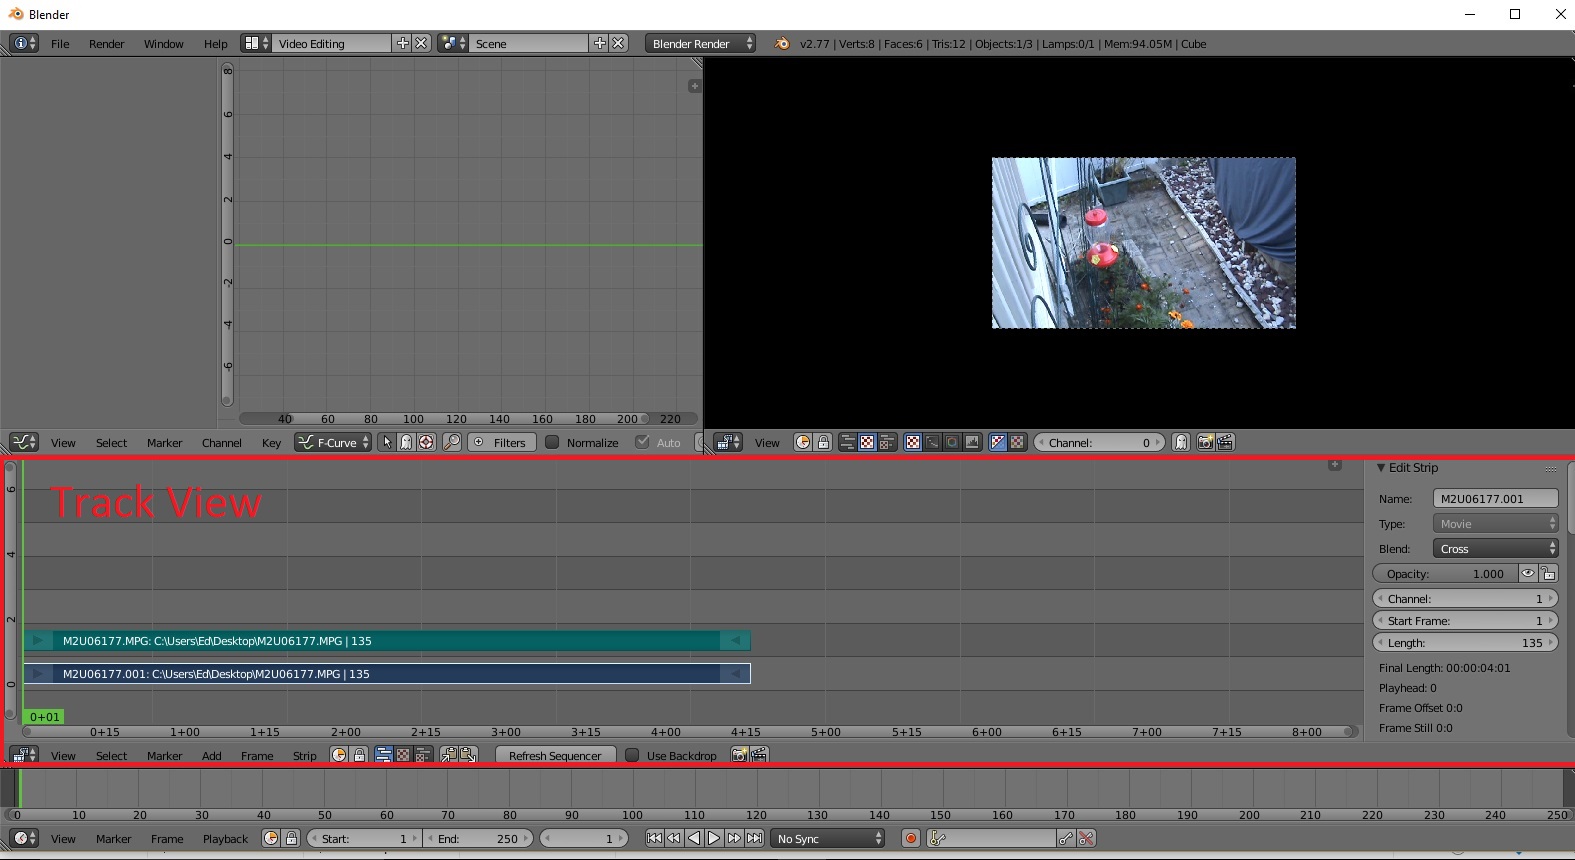
When you import a file it is unlikely to be exactly 250 frames long (the default project length). To get the right length, first zoom in or out until you can see the entire movie file in the track view. Zoom by placing the mouse pointer over the track view and then either using the mouse scroll wheel, or by using the + or – on the number pad.
Then you either click on or use the left right arrows to move the green bar to the end of the movie file. The green bar is the “current frame” and it is also represented by a number in the timeline.
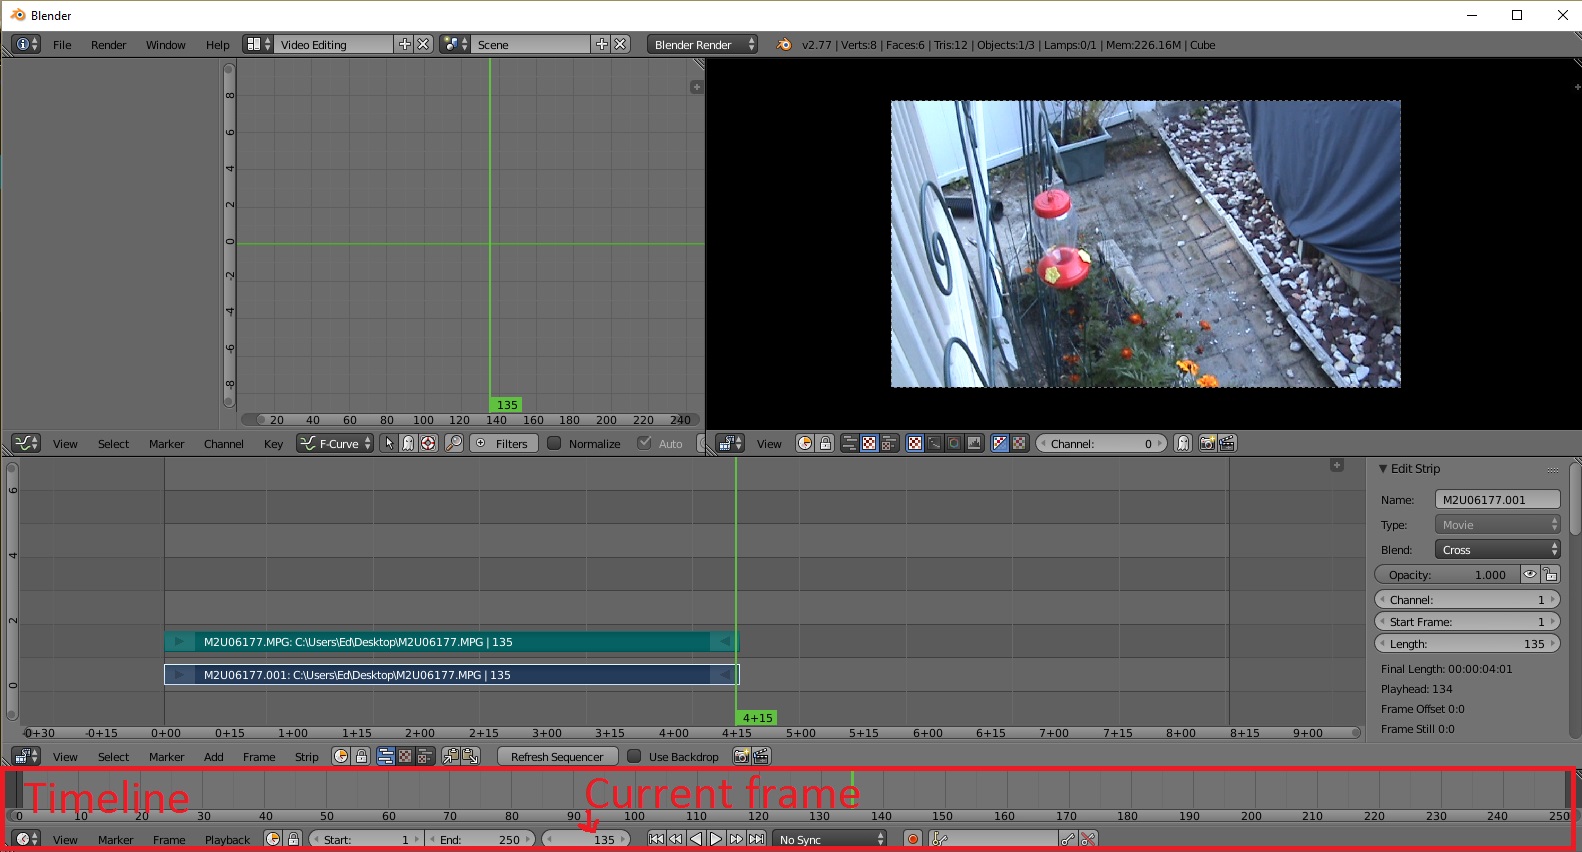
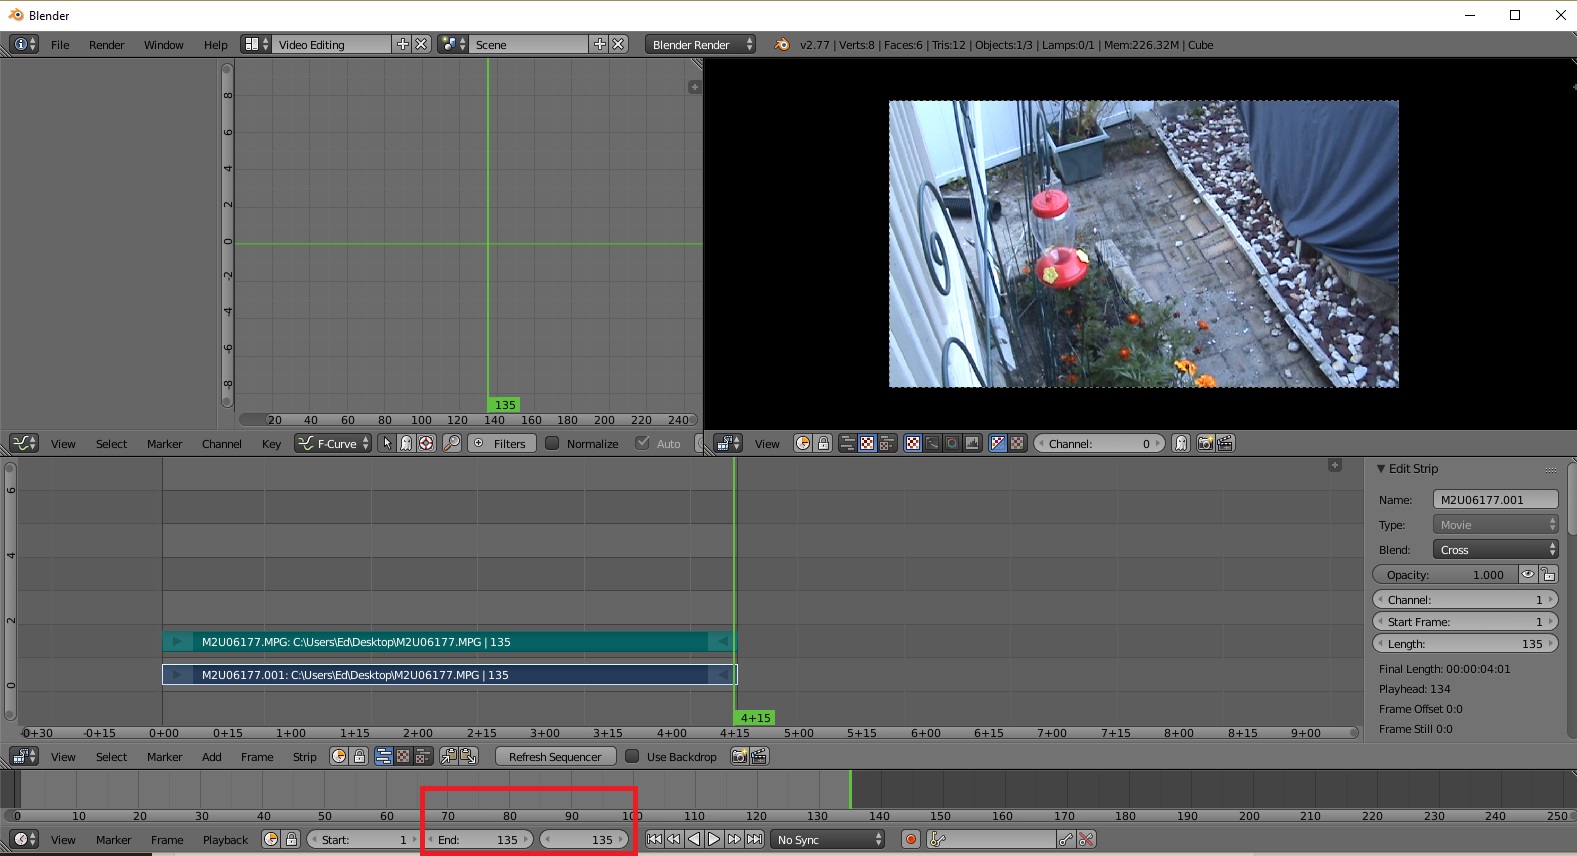
Move the green bar to the last frame that you see an image from your movie, see what the current frame is, then enter that number in the “end” box to the left.
Deleting Audio or Video
Many time you want to use a different sound than what the video camera recorded. To delete the audio (or video) simply right click on it to select it and the press x.
Moving Audio or Video
Many time a movie is made up of many small movie clips. These clips need to be moved around and to do that in blender simply right click on the track you want to move. While holding down right click drag the item and it will kind of stick to your pointer. To put it down again right click on it again.
Adding a second movie clip
Adding a second movie clip is very simple. You add a second file just like you added the first with the “Add” button in the track view. The new video will be imported to its own track, above the original, and starting at the green line. If two films overlap the top one will cover any files below it. You can move movie clips not only left and right but also up and down to different tracks.