Video Editing in Blender for Beginners pt1
Importing Video into Blender
This article assumes that you already have a copy of the free Blender program downloaded and installed. If you do not yet have blender you can get it here at Blender.org. The current version is 2.77A, but this tutorial should work if you have a different version because Blender does a good job of trying to keep things the same across different versions. If you do notice that it doesn’t work please contact me at ed@32hertz.com so that I can fix it.
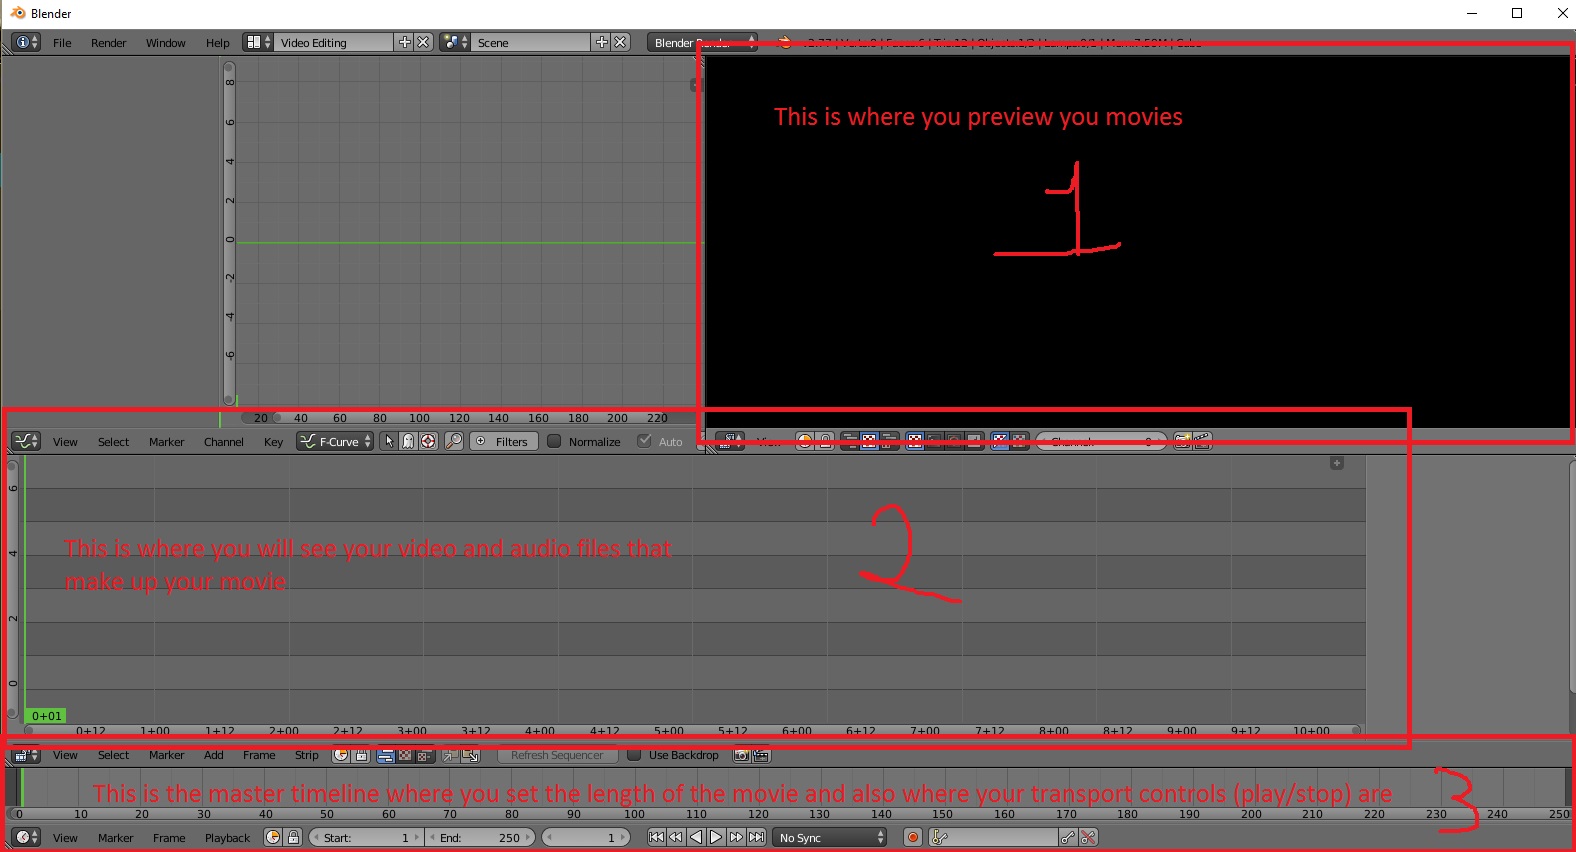
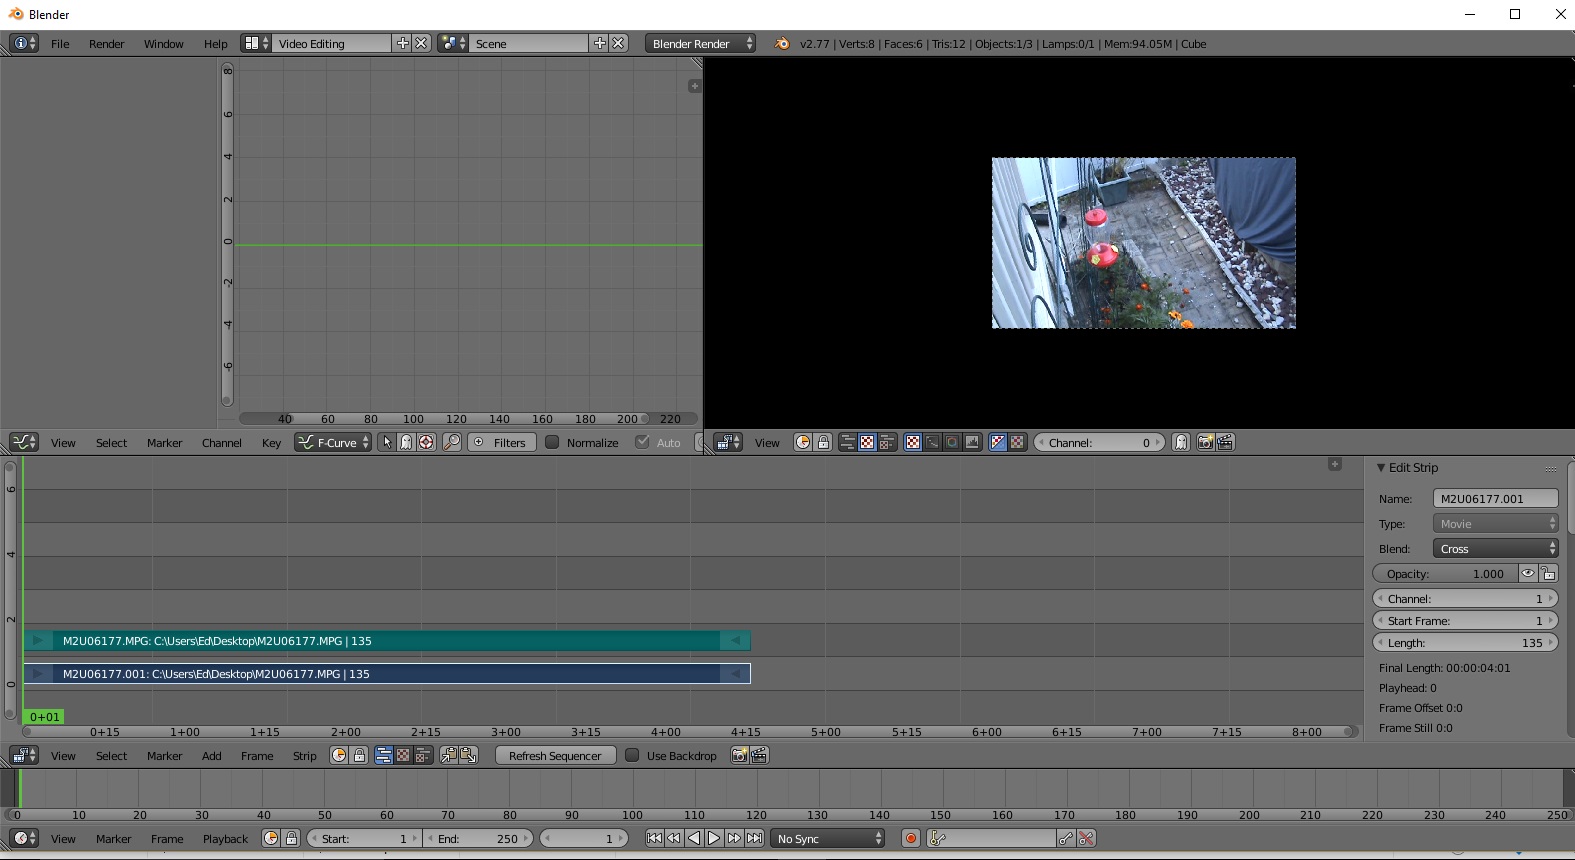
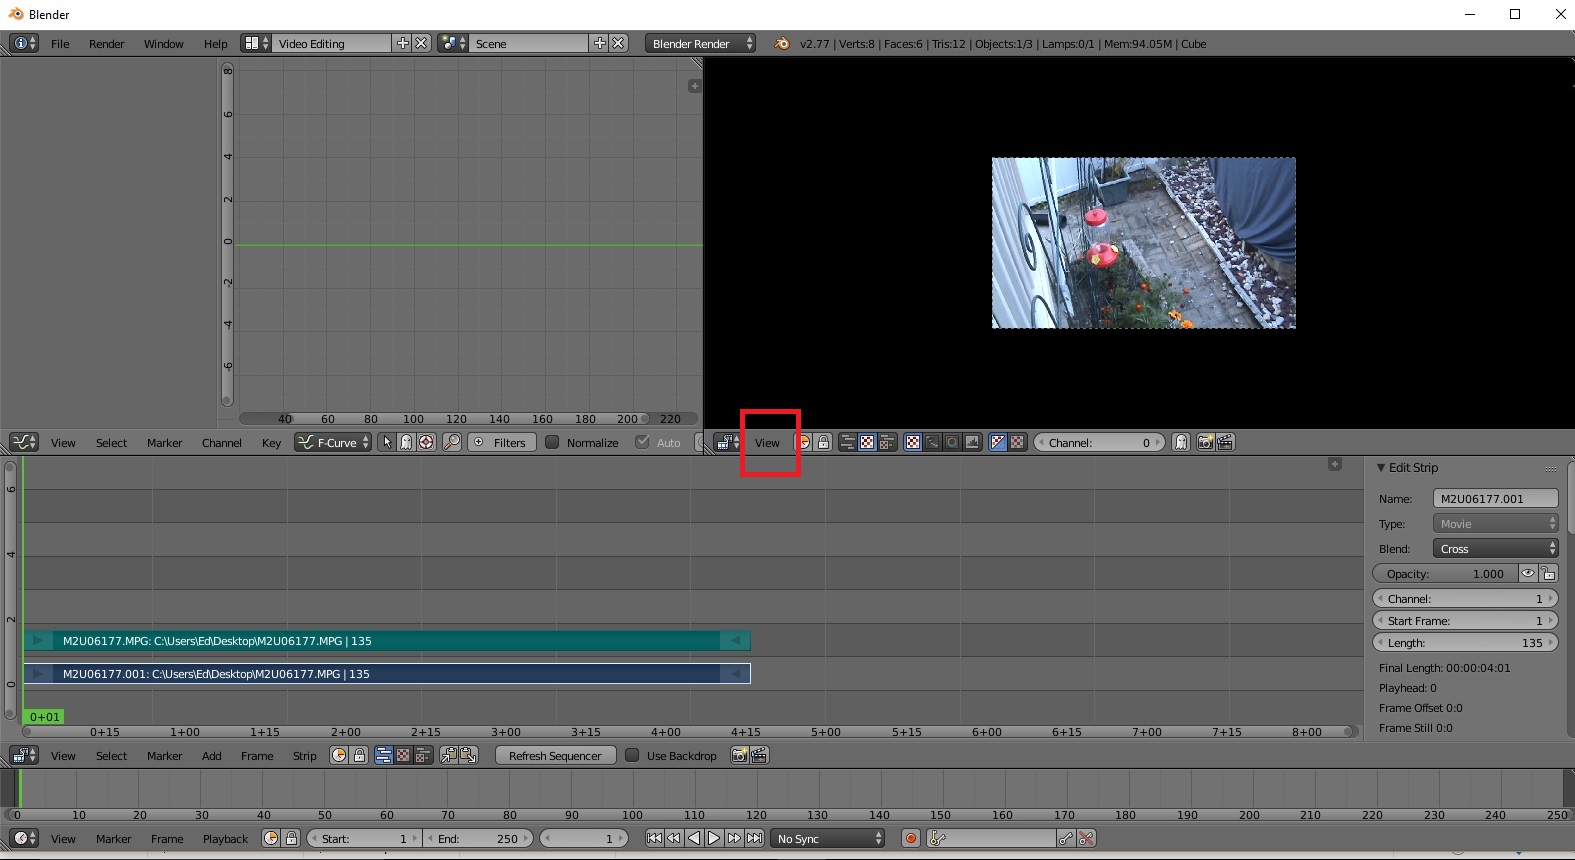
a) You can see the first frame of your movie in the preview window. If the image is too small and you have a mouse you can place the mouse pointer over the image and use the scroll wheel to zoom in or out. If you do not have a mouse with a scroll wheel the best option is to use the + and – keys on your number, pad or you can click on “VIEW” which is directly below the image and select your zoom ratio from the dropdown box.
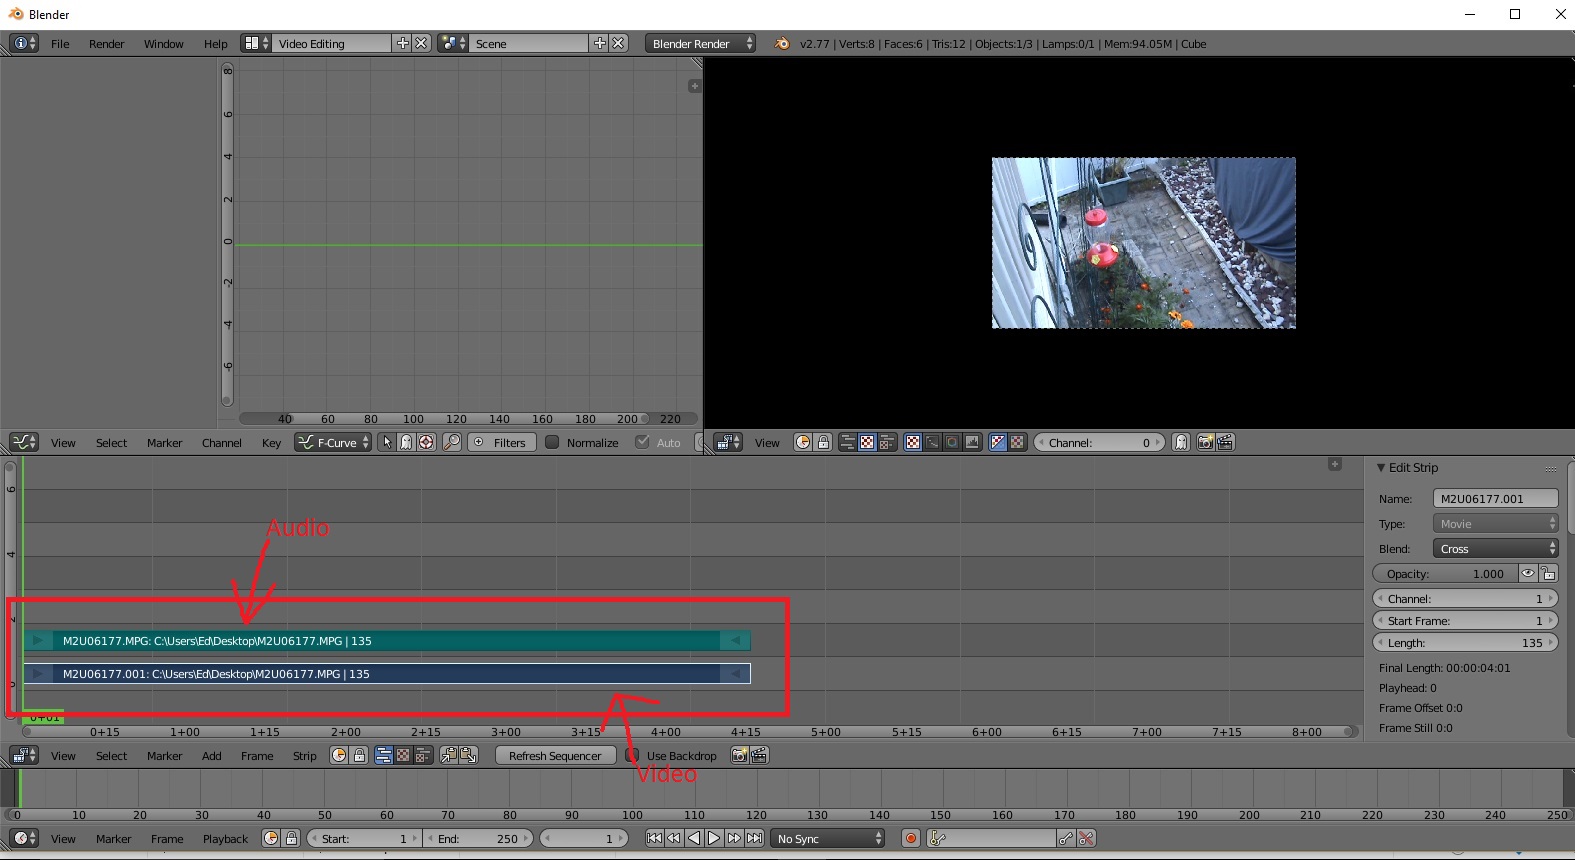
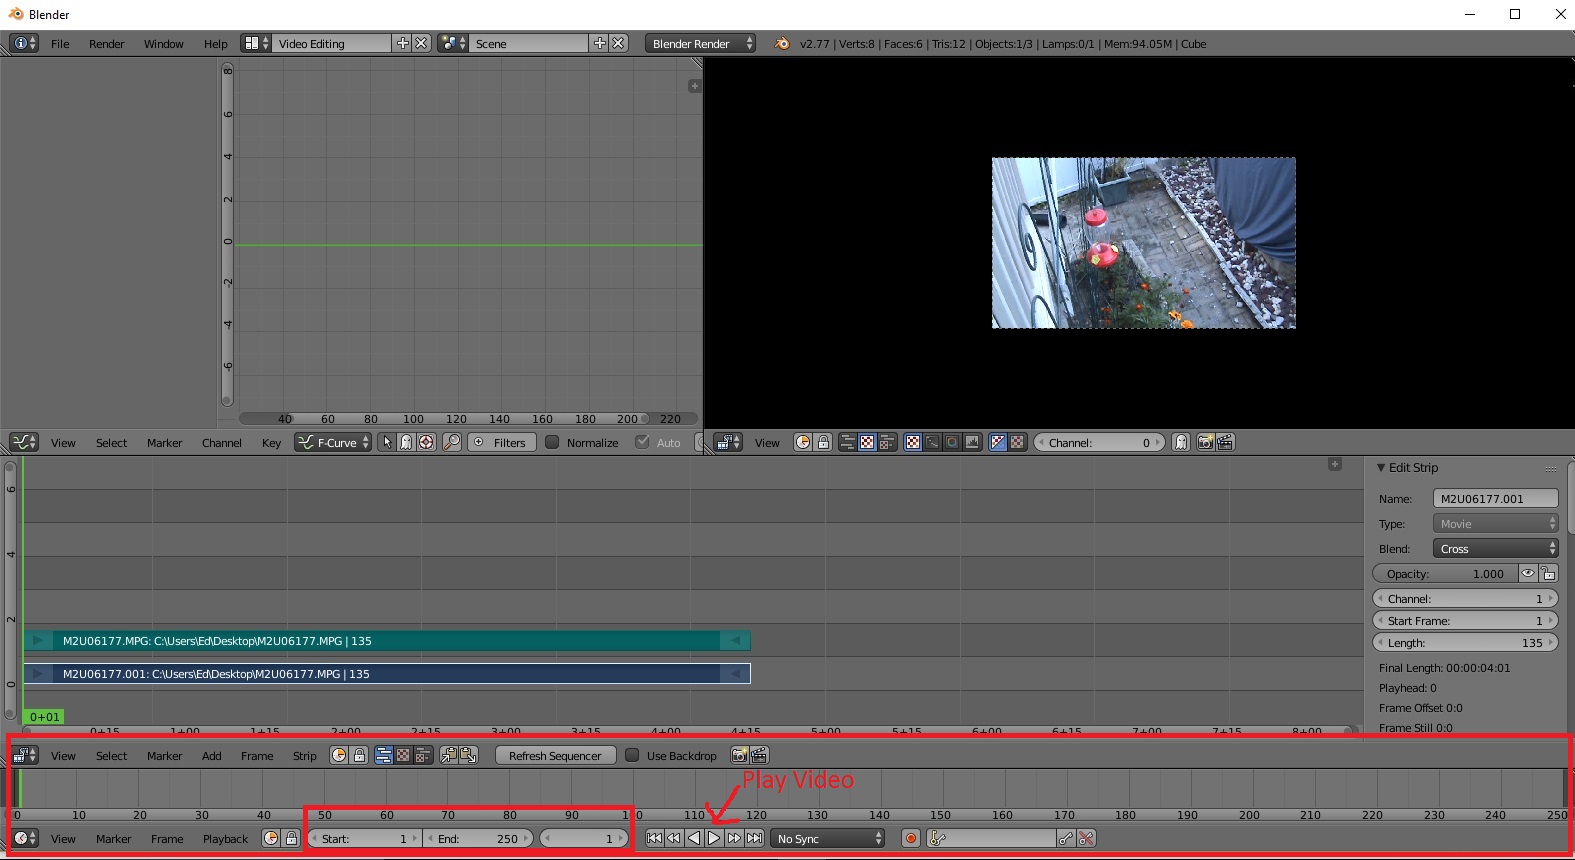
b) Below the preview window you will notice two blue rectangle boxes have appeared. These rectangles are you video. The lighter colored rectangle on the top is the audio part of the video, and the darker colored rectangle below it is the video itself. You can manipulate and work on the sound and video separately. To the right of the colored rectangles some new information about the video selected has appeared including the name of the file.
c) Below the rectangles at the very bottom of the page you can see the play button, and also the rewind, fast forward, etc. that you can use to play the video that you have uploaded. To the left of these controls you will see boxes marked “Start: 1” and “End: 250”, this is the total length of your project. When you hit play the movie will play from 1 – 250 and then start again at 1 (and loop until you hit pause). If your video is shorter than 250, when you hit play you will see a black screen in the preview window after you video is finished until it gets to the end and starts again. If your video is longer than 250 it will cut your video short and start again at the beginning. To adjust this simply click on the “250” and adjust the value to a more correct value.
Ok that is all for today. Try it out and get a good feel for it then move on to the next part Video Editing in Blender for Beginners pt2 where we will start to manipulate the videos and start to have some fun. I hope that you learned!
Thanks for reading!
Ed